In this lesson we will learn how to design icons vector lines written using basic shapes in Illustrator for use in program interface or on your computer or even on your mobile phone.
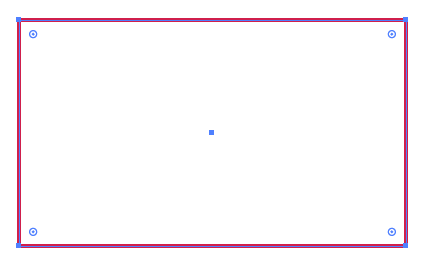
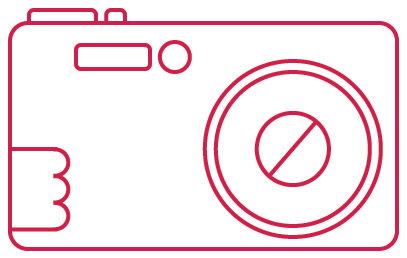
We'll start with icon design digital camera. Open Illustrator and then start a new one and use the rectangle tool Rectangle Tool to draw a rectangle. You will notice in this lesson we will use specific dimensions but rely on artistic vision in design but you can adhere to specific dimensions. To shorten the time you make the color of the border with a color and fill color are removed.
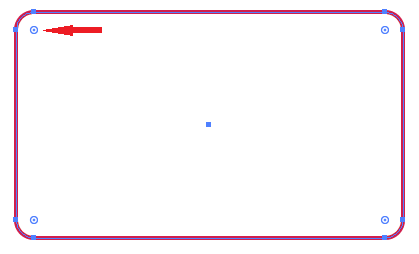
Use the selection tool Selection Tool and click on the circle and drag corners to make the corners of the rectangle.
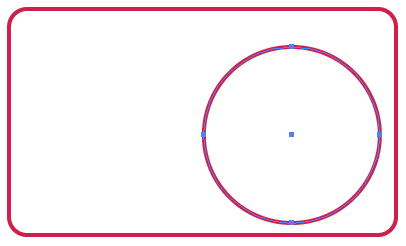
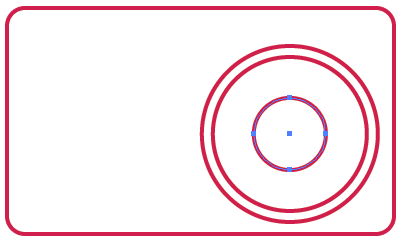
Use the circle tool, Circle Tool to draw a circle, so you get the circuit correctly press the Alt and Shift keys together while drawing the circle where maintain central drawing and dimensions of the right circle.
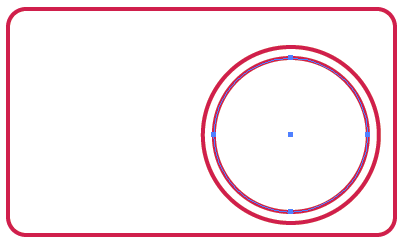
Use smart guides to help you in this design. Draw another circle in the same way with start from the center of the circle of old and make new smaller Chamber.
Repeat the same process but this time draw a circle with half the size of the previous Chamber.
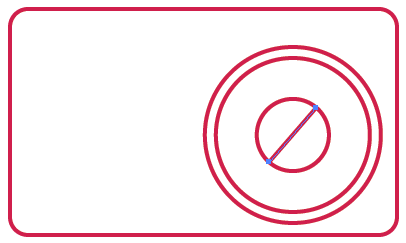
Use the line tool Line Tool to draw diagonal line and using smart guides will not be that difficult. This figure will represent the shape of the lens for your digital camera.
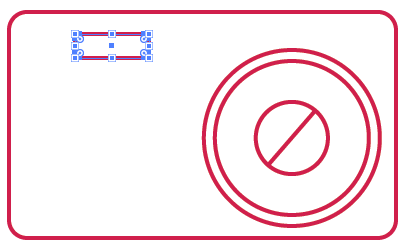
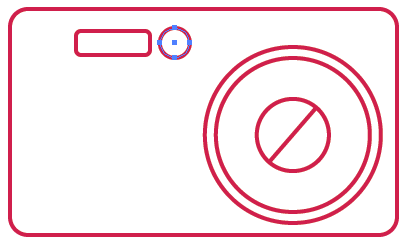
Use the rounded rectangle tool Rounded Rectangle Tool to draw slot instant lighting (Flash) and mark the corners with half a small Qatar using the arrow keys while dragging your mouse and draw a shape.
Draw a small circle drawn in the small rectangle height size and we will do so with the help of smart guides.
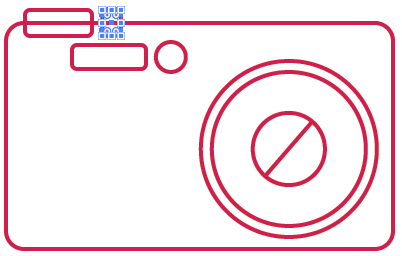
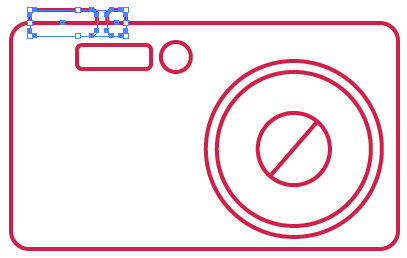
Draw a rounded rectangle in the upper right corner of the camera so that half of it within the camera body and the other outside.
Draw a square small rounded to the same height of the rectangle.
Make a fill color camera body with white and then select the rectangle and the little box emerging from the camera body and sent back to the shortcut CMD + Shift + [.
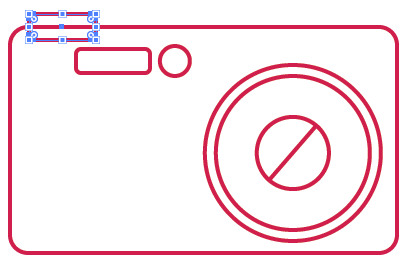
Draw a rectangle in the bottom left corner of the camera.
Copy this rectangle twice via Ctrl + C and Ctrl + F mode versions on the same vertical axis to the original shape.
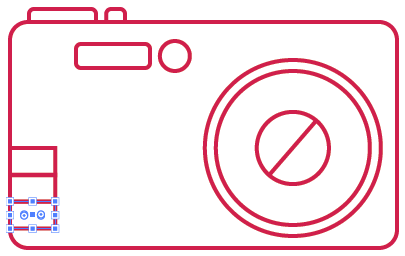
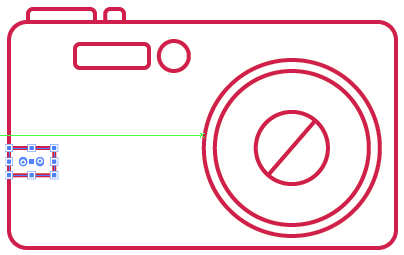
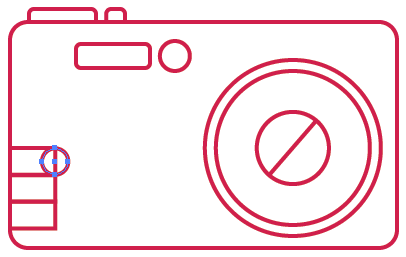
Draw a small circle with a diameter of rising small rectangle charted just using smart guides put the circle so that half of it outside the rectangle.
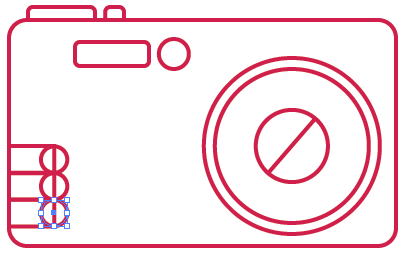
Copy the circle in the same way that our copies where small rectangles.
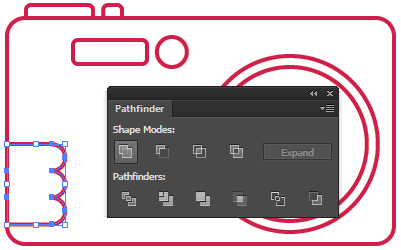
Select all the three small rectangles and circles also three small and select Merge option from the Pathfinder palette to merge all these shapes together.
And this concludes our design digital camera. Now we'll go to another format and design is a pen that would symbolize the articles or tutorials.
Draw a rectangle thin with very high (used here different colors you can choose colors that suit you).
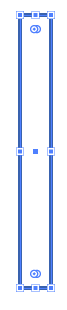
Copy Ctrl + C and paste on top Ctrl + F this rectangle twice and move versions of all rectangles are lined up next to each other.
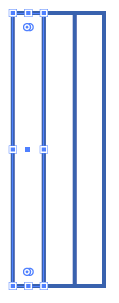
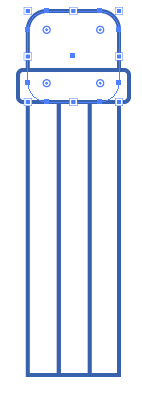
Draw a rectangle rounded catch in the top of the three rectangles let half of Qatar the corners of the rectangle.
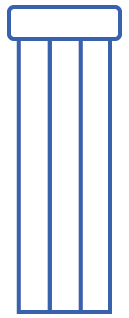
Draw another rounded rectangle, this time let half of Qatar large angles and make the bottom half of the rectangle covers the preceding by-then send this form to the bottom using the shortcut CMD + Shift + [.
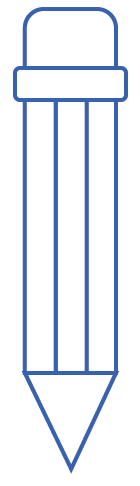
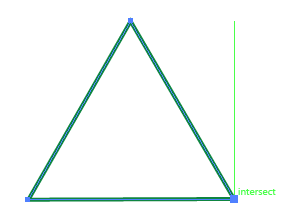
Use the pen tool Pen Tool to draw a triangle shaped pen tip and get a perfect triangle, use smart guides to help you achieve the ideal dimensions of the triangle (not to mention continued use smart guides in each time but used in manual drawing and without specific dimensions facilitates the design process astoundingly).
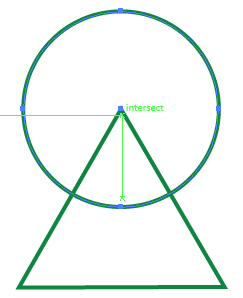
Draw a medium sized circle status is lower triangle head point.
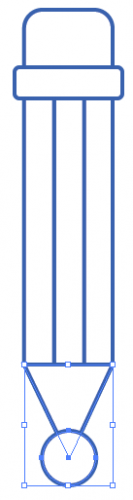
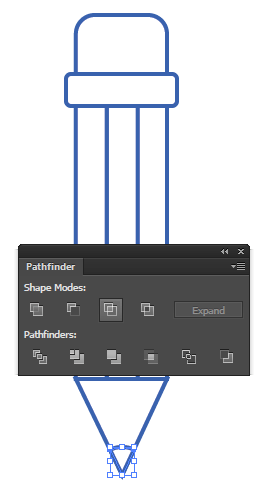
Then select the triangle shape doubled with the shape of the circle, use the Intersect option from the Pathfinder palette to trim segment shapes.
And so it will look like the pen after you finish painting.

Select all forms of pen then turn using the Transform Panel, 45-degree angle.
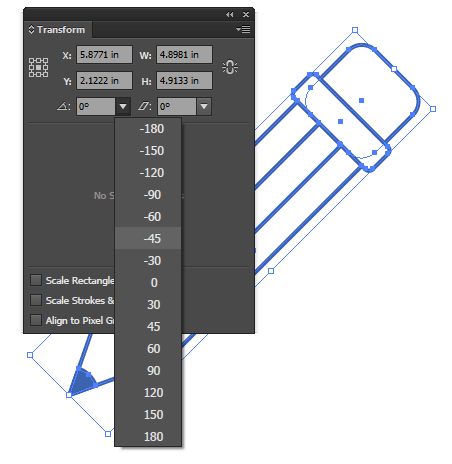
This is the final form of the pen.

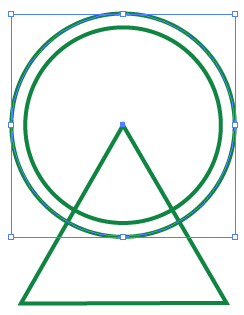
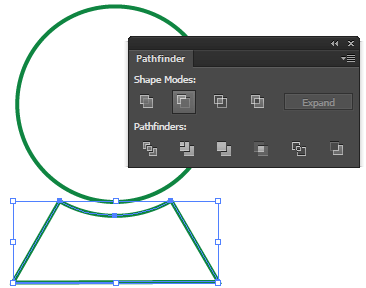
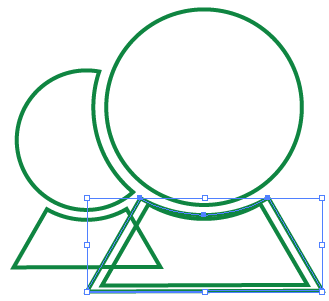
And now we we will make it look like two icon to denote addition and change the font color to green. Start by drawing a large triangle with polygons and Polygon Tool make the base down.
Use the circle tool while holding down ALT and Shift to draw a circle triangle head position.
Draw another circle is slightly larger than the first circle share status.
Select the large circle and triangle and click the Minus Front option from the Pathfinder palette to remove the area of a circle with a triangle of a triangle.
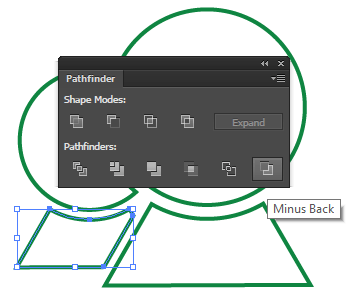
Select the shape with the circle and then copy Ctrl + C then paste Ctrl + F in the foreground and then move it to the left a little and then small size a bit.
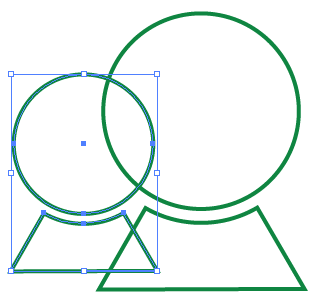
Copy the large Chamber again and then paste it into place in the foreground and then they become slightly with the ALT and Shift keys use to preserve the location of the center of the circle and the aspect ratio.
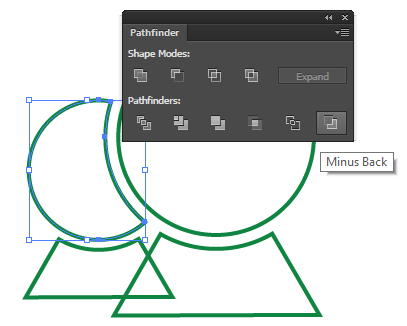
Select new and large Chamber small Chamber on the left and then use the Minus Back from Pathfinder Panel to cut large circle shape.
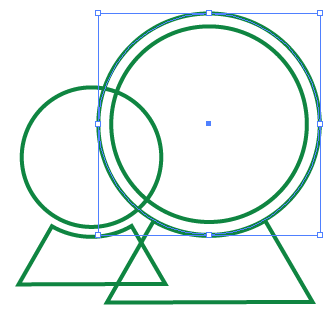
Repeat the same process with higher Kebir body copy and paste and zoom.
Again repeat the select configurable objects and go to the order Minus Back from the Pathfinder to cut shapes from each.
Thus this form ready for use.

In this lesson, you learned the basic method for designing linear icons using basic shapes you can now design the other icons by using the same method used in this lesson. You can use these shapes as easily icons, you can make the fill colors white or left unfilled and can even change the font colors and don't forget that we can adjust the size of these forms without being distorted because it simply Victor graphics, all you have to do now is to issue Export these formats to PNG image and use.
0 commentaires:
Post a Comment